
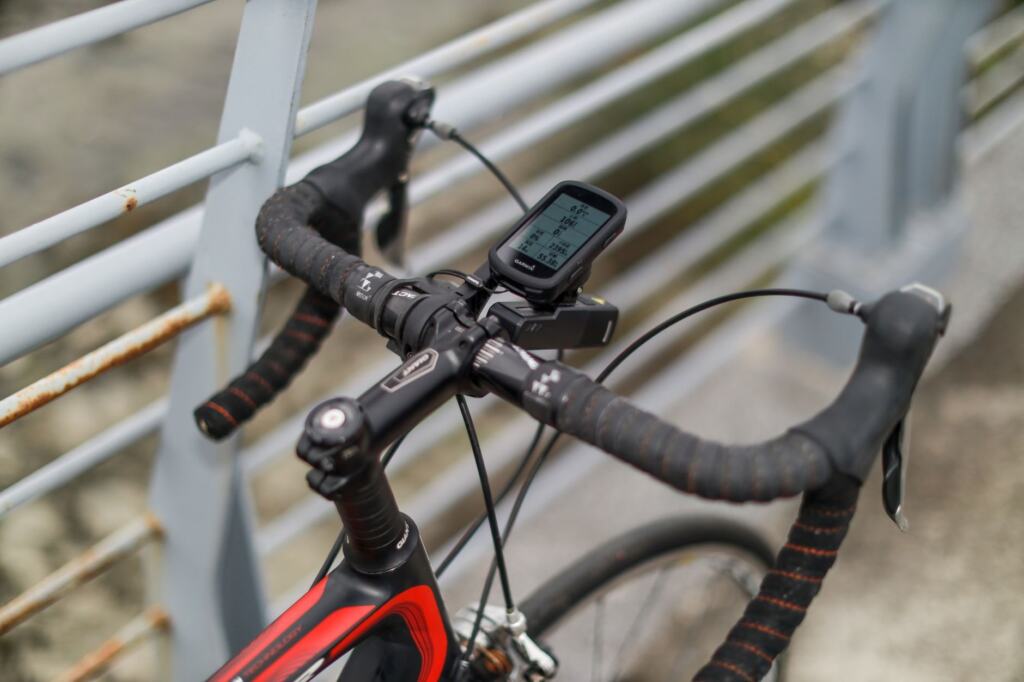
Pick where your ride data will be displayed before buying any other cycling gadgets, because the head unit decides which sensors, lights and trainers can join it. Then add parts that match its wireless standard and mount.
This guide sorts cycling gadgets by what they sense and what they connect to. If the display is still undecided, start with our shortlist of the best cycling computer options. If you already own a head unit, skip ahead to sensors or lights.
Start with the display, then build outward
Almost every sensor, light or trainer is useful only if something shows or records what it reports. That is why the first decision is the display. A dedicated bike computer, a phone on the handlebar and a smartwatch can all collect ride data, but each one limits what you can add later in a different way.
- Choose a dedicated bike computer if you want a screen built for the handlebar, a long list of sensors you can add over time, and no need to keep a phone running during rides.
- Choose a phone on a mount if you already carry one and want maps on a large screen, accepting that the phone does more than one job on the bike.
- Choose a smartwatch if you want a recording of the ride and a heart rate reading without adding anything to the bars.
- Choose nothing yet if you ride short, familiar routes and only need to be seen. Lights come first in that case.
Once the display is settled, work down the list in this order: sensors you want it to read, lights for the conditions you ride in, and then extras such as cameras, trackers and audio. Indoor riders can treat the trainer as its own branch, because it connects to apps rather than to the bar-mounted display.
Compatibility criteria that decide what works together
The unique problem with cycling gadgets is that they are sold as separate products but expected to behave like a system. Four criteria separate parts that work together from parts that sit in a drawer. Check them in this order before you buy.
Wireless standard
Sensors talk to a display over a wireless protocol, usually Bluetooth or ANT+. The device pair works only if both ends list the same protocol on their spec sheets. A head unit that supports a protocol can read any sensor that transmits on it, so the standard matters more than the brand name on the box.
Read the specification page, not the headline description. Manufacturers list supported sensor types there: heart rate, speed, cadence and power. If the sensor type you want is not named on the head unit’s page, treat it as unsupported until the maker says otherwise.
Mounting and fit
Lights and head units attach to the bike or helmet with brackets, and brackets have limits. One light described in a gadget roundup mounts on handlebars up to 35 mm in diameter as well as on a helmet. That kind of diameter figure is exactly what to compare against your own bars before ordering, particularly on oversized or aero bars.
Fork mounts are an alternative where the bars are crowded. Planet Bike sells a fork eyelet headlight mount for $8.00, which suits bikes with fork eyelets and no spare bar space.
Power and charging
Rechargeable gadgets trade the cost of replacement batteries for a charging routine. Count how many devices on your bike need a cable: head unit, front light, rear light, and possibly a camera. If they all charge over USB, one charger and one habit cover the lot. A gadget with a different connector or a battery type nobody else in your kit uses is a small daily friction.
Where the data ends up
The last criterion is the destination. Ride files from a head unit, watch or phone usually end up in an app or website where you review them. If you care about reviewing training, make sure your display can send files to the service you want before you pick it. This is a spec-sheet check like the wireless standard, and it is easy to overlook when comparing screens and battery claims.
Bike computers, phones and watches compared
The three display options overlap, which is why this section is worth reading before spending on sensors. They differ in how they handle navigation, how much battery you spend on them, and how many sensors they can read at once.
Dedicated bike computer
A bike computer is built to stay on the handlebar and show ride data at a glance. A 2021 roundup of cycling gadgets describes the appeal as capturing your ride in the context of speed, distance and heart rate. It also lists the SmartHalo2, a multi-function cycling gadget, at $199 in the 2021 listing and describes that as the pricier end of the bike gadget market.
The takeaway is that price alone does not tell you which unit suits you. Our guide to the best cycling computer picks goes through the options by feature, and the best budget bike computer guide is the better starting point if you want a capable unit without paying for navigation extras you will not use.
Phone on the handlebar
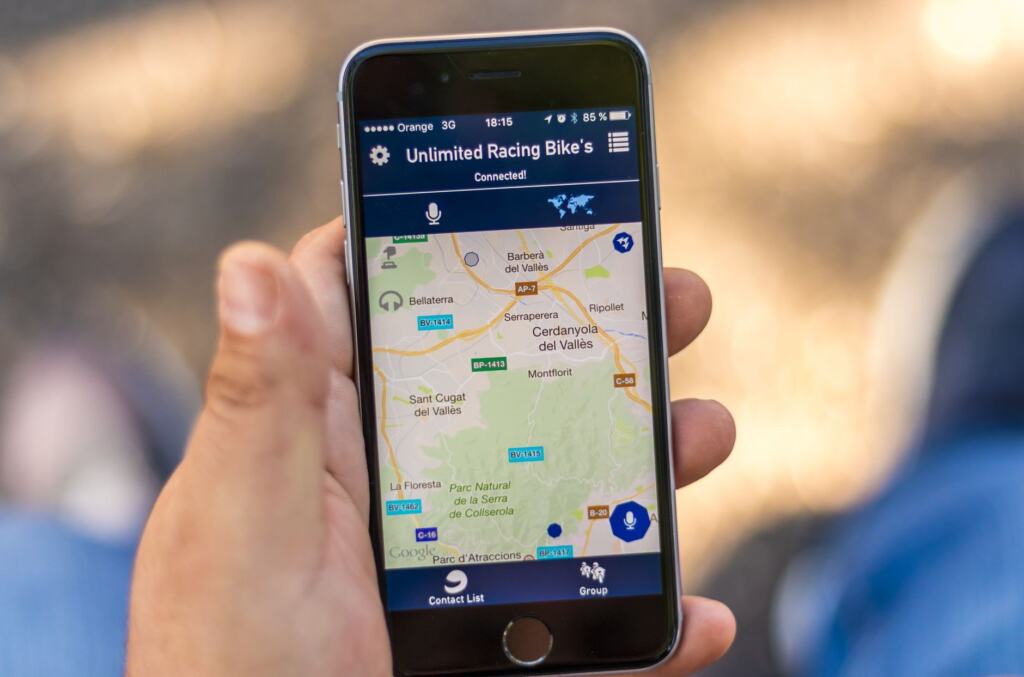
A phone gives you a bright screen and detailed maps, so it appeals to riders who navigate more than they train. The weak points are battery use, exposure to weather and the need for a secure mount. The best bike phone mount guide covers how to hold a phone steadily, and the comparison in bike computer vs phone weighs the trade-offs directly.
Smartwatch on the wrist
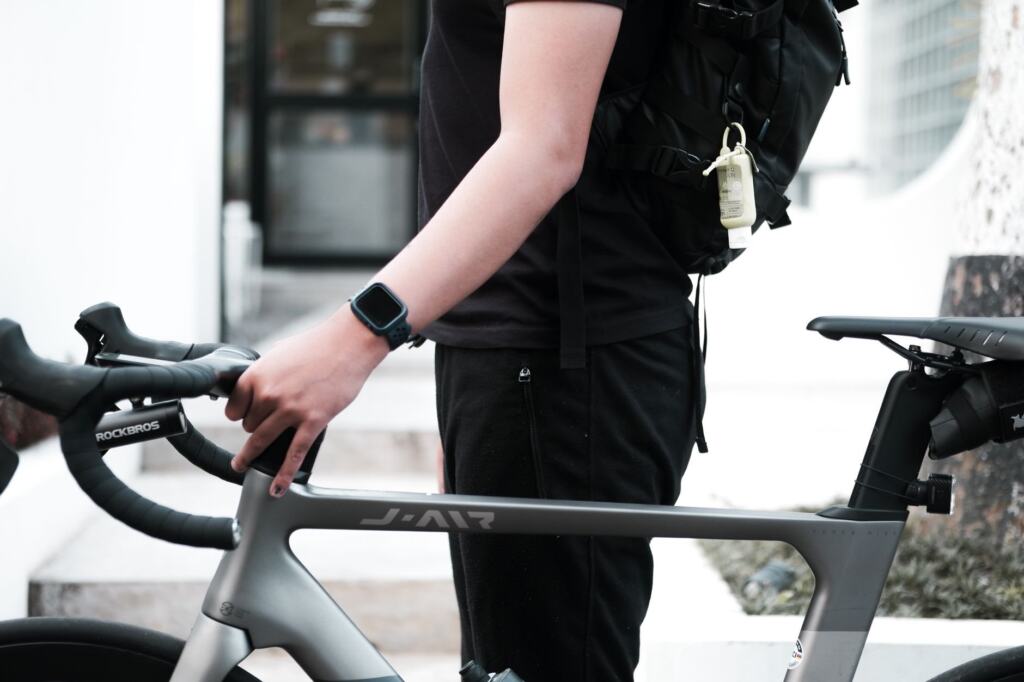
A smartwatch records the ride without taking up bar space and can carry heart rate without a chest strap. It suits riders who mostly want a record of what they did. Reading a small screen on a wrist while holding the bars is harder than glancing at a handlebar unit, so a watch is a weaker choice if you rely on turn-by-turn directions. The best smartwatch for cycling guide covers watches that handle riding well.
Navigation: where the route is displayed
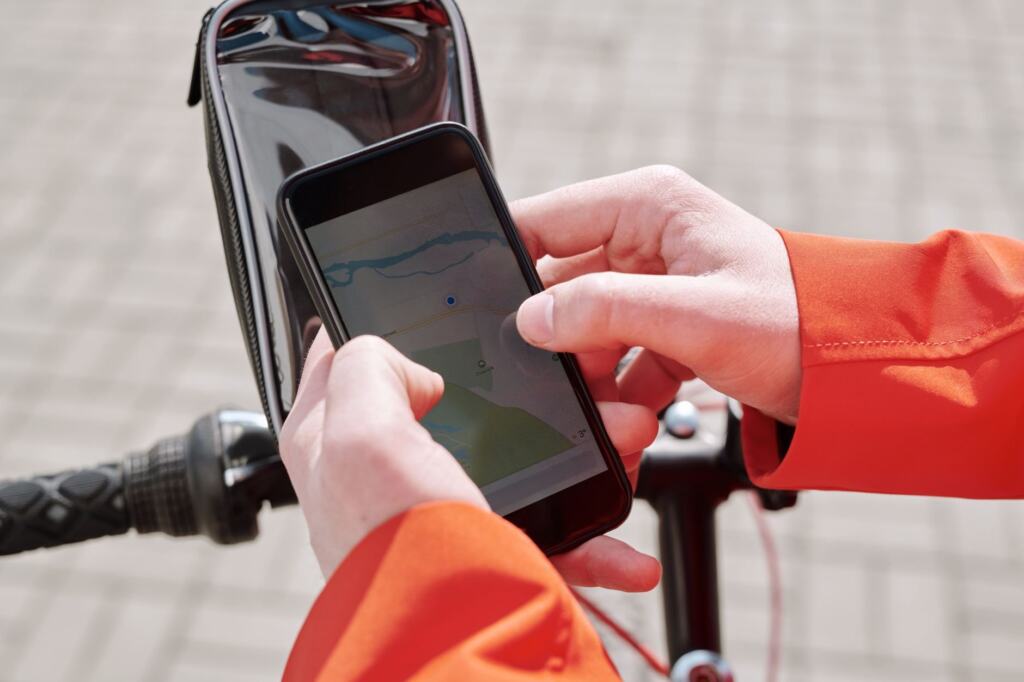
Navigation is the feature that most often pushes riders from a watch to a mounted screen. A route shown on the bars can be followed with a glance, while a route on a wrist or in a pocket demands a stop. The map’s quality depends on the app or device, but the practical rule is simple. If you ride unfamiliar roads regularly, put the route display where your eyes already go.
A phone running a cycling navigation app can show roads, town names and a route line on a big screen. A bike computer shows the same route on a smaller display built for glare and handlebar vibration. Both can work. The question is whether you would rather manage a phone’s battery and weather exposure or a separate device’s charging and cost.
The bike computer on the handlebar in the lead image of this guide shows the dedicated alternative: a small, purpose-built screen fixed in front of the stem. Which one fits depends on how often you navigate and how much you value a device that only does cycling.
Sensors: heart rate, cadence and power
Sensors are the cycling gadgets with the strictest compatibility rules. They do nothing alone, and they report to a display that must understand them. Each type answers a different question about your effort.
Heart rate monitors
A heart rate monitor measures how hard your body is working, and it is the simplest sensor to add. The 2021 roundup cited above names heart rate alongside speed and distance as the core context for a ride. That makes heart rate a natural first sensor for riders who want to pace efforts rather than guess.
The real decision is the form: a chest strap, an armband or a watch. Straps and arm sensors pair to a head unit like any other sensor, while a watch records heart rate itself. Our best heart rate monitor for cycling guide compares the options. For compatibility, make sure the sensor transmits on a standard your display reads.
Cadence and speed sensors
A cadence sensor reports how quickly you turn the cranks, and a speed sensor reports wheel speed. Both are small, and they are usually fitted to the crank arm, the hub or the shoe depending on the design. Because they are inexpensive relative to a power meter, they are a sensible way to learn how sensor pairing works before spending more.
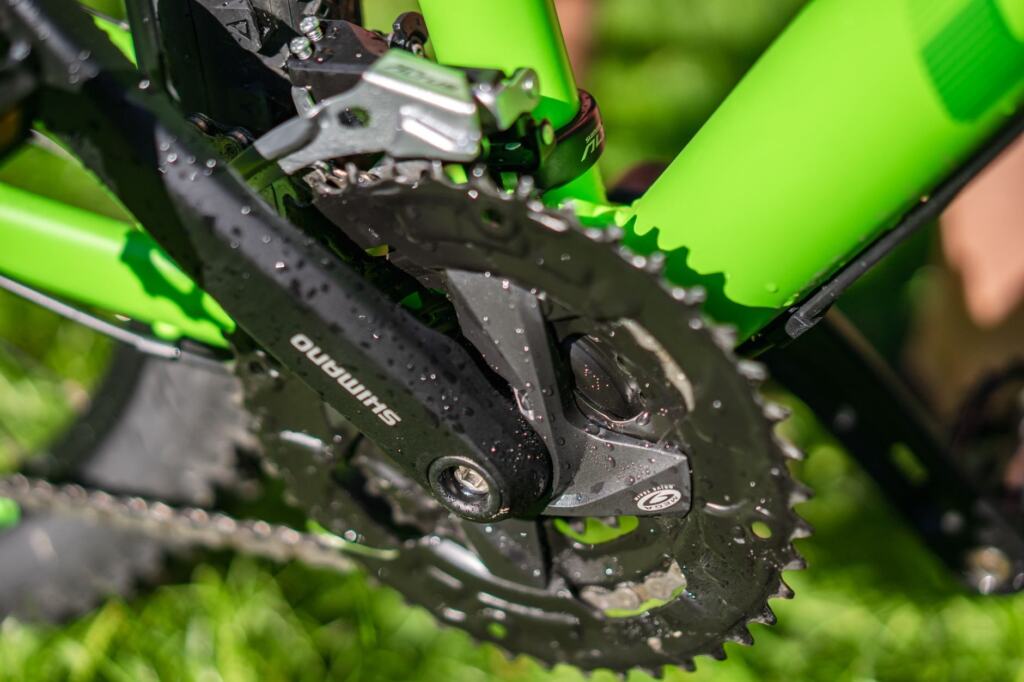
Placement matters for reading accuracy and for bike fit, so check the sensor’s mounting method against your crank or hub. The image below shows a crank arm and chainring, the general area where crank-mounted sensors sit.
Power meters
A power meter measures the force you put through the drivetrain, which makes it the most direct measure of effort for training. It also costs more than the other sensor types and is tied to a specific part of the bike: the crank, the pedals or the hub. That choice limits which bikes the meter can move between.
For most riders, the question is whether you need that accuracy yet. If you are still learning pacing, heart rate and cadence give plenty of information. If you are following structured training, our guides to the best power meter for cycling and the best power meter pedals explain how crank and pedal designs differ in fit and portability.
Indoor riding and smart trainers
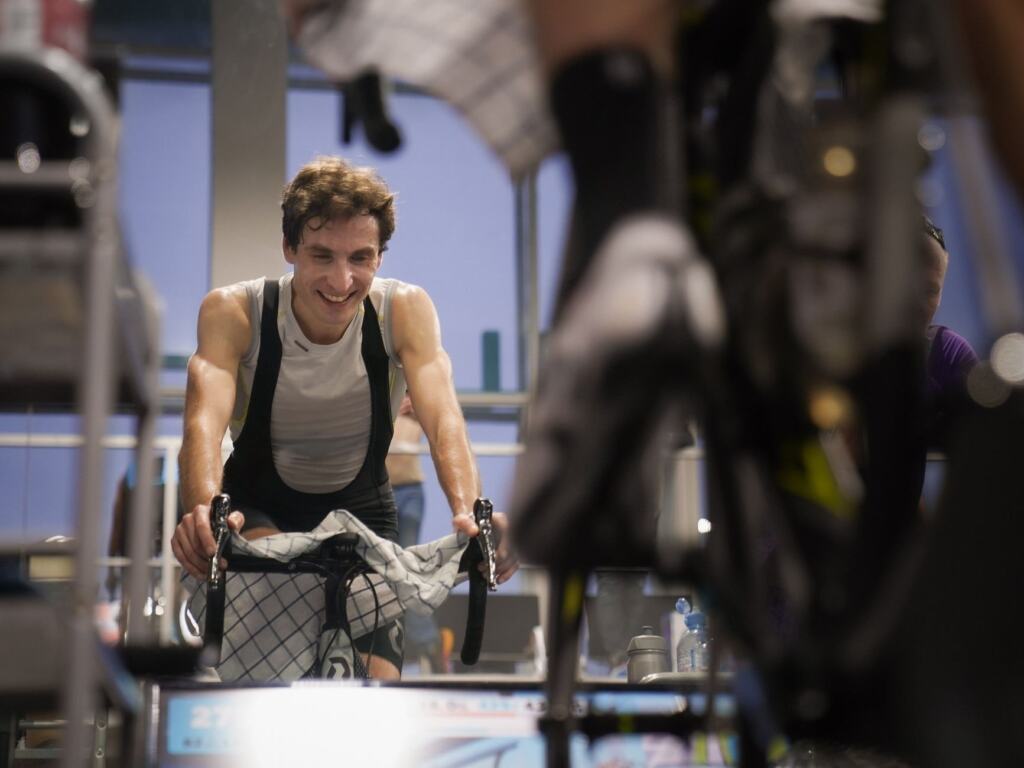
A smart trainer holds your bike indoors and connects to apps and head units, so it follows the same compatibility rules as any sensor. Check which wireless standards the trainer supports and whether your app or display can control it, because control is a separate function from just reading data.
Indoor riding also shifts the gadget list. Navigation and lights become irrelevant, and heart rate and power become the main measures. Riders who start with sensors outdoors can often reuse them on a trainer, which is another reason to buy parts that follow open standards. The best smart trainer guide covers the choices in more depth.
Lights and visibility
Lights are the gadgets that matter most if you ride in low light, and they are the least dependent on other devices. A front light and a rear light work alone, which is why many riders buy them before any computer or sensor. The first decision is brightness against battery life, and the second is how the light attaches.
Brightness and runtime
Brighter settings drain a battery faster, and manufacturers’ top-output claims rarely describe a whole ride. A CNET reviewer found that the NiteRider Lumina Dual 1800 lasted nearly two hours on its second-brightest setting, 1,500 lumens. The practical lesson is to compare runtime at the setting you will actually use, and to match that figure to the length of your usual ride in the dark.
Mounting options
Check bar diameter first, then consider a helmet mount for a second beam where your head points. Fork and seatpost mounts keep the bars clear. Pairing a front and rear light is the standard way to be seen from both directions. The best bike lights guide lists options by type and use.
Radar lights
Some rear lights add radar that detects vehicles approaching from behind and reports them to your head unit. That makes them a compatibility topic as much as a safety one, because the unit must support the radar’s wireless connection. The best bike radar guide covers which setups pair with which displays.
Light prices from manufacturers
Prices vary widely for the same job. The table below lists manufacturer prices for a few headlights and sets, so you can see what a basic setup costs before you consider premium options.
| Item | Price | Planning use |
|---|---|---|
| State Bicycle USB rechargeable LED light set | $24.99 | A front and rear pair at the lowest price listed here |
| Planet Bike Beamer 400 headlight | $35.00 | A front light for lit streets where you mainly want to be seen |
| Planet Bike Beamer 700 headlight | $50.00 | A step up in output for darker roads |
| Planet Bike Beamer 700 and Rojo 100 USB set | $75.00 | A matched front light and USB rear light |
| Planet Bike fork eyelet headlight mount | $8.00 | An add-on for bikes with fork eyelets |
Prices come from the manufacturers’ own listings at Planet Bike and State Bicycle, and they can change.
The decision from this table is straightforward. A set covers both ends of the bike at the lowest cost, while buying the headlight and rear light separately lets you match brightness to your roads. A fork mount is cheap enough to add if the bars are full.
Cameras, trackers, alarms and audio
Beyond displays, sensors and lights sits a group of gadgets that solve specific problems. Each one is worth buying only if you have the problem it addresses.
- Bike cameras record the ride from the bars or seatpost and suit riders who want a record of traffic incidents or scenic routes. See the best bike camera guide.
- GPS trackers report a bike’s location if it is moved, which suits riders who park outdoors. The best bike gps tracker guide explains how they work.
- Alarms and anti-theft gadgets deter or flag tampering and complement a good lock. The best bike alarm guide covers the types.
- Headphones and earbuds are for riders who listen on the move. Choose a design that keeps you aware of traffic, and see the best headphones for cycling guide for the options.
None of these depend on the sensor ecosystem in the way a power meter does, so they can be added at any time. They do add charging tasks, which is the main hidden cost of a loaded bike.
A starter kit by rider type
Cyclists need less than the gadget market suggests. The basics are a way to see or record ride data and, if you ride in low light, a front and rear light. The 2021 roundup cited earlier describes capturing a ride in the context of speed, distance and heart rate, which is a good definition of the core data. Everything else answers a specific need.
- Commuter in low light: start with lights, then add a phone mount or head unit if you navigate. Camera and alarm come later if the bike is parked outside.
- Weekend road rider: a bike computer and a heart rate monitor give you the data to pace rides. A cadence sensor is a cheap addition, and power can wait.
- Training-focused rider: a head unit that reads power and heart rate, plus a trainer for indoor sessions, builds the most complete picture.
- Casual rider: a phone on a mount or a smartwatch is enough, and you can buy a dedicated computer later if you outgrow it.
Whichever route you pick, buy the display first, confirm its supported sensors on the spec sheet, and add one new gadget at a time. That keeps compatibility problems easy to trace and stops you buying parts you never use.
Frequently asked questions
Do I need a power meter to get useful ride data?
No. Speed, distance and heart rate already give a clear picture of a ride. Add power when you follow structured training and want a direct measure of effort.
Can I mix gadgets from different brands?
Yes, where the display and sensor share a wireless standard and the head unit’s spec sheet lists that sensor type. The standard matters more than the logo on the box.
Which gadget should I buy after a bike computer?
Buy lights if you ride in low light. Otherwise a heart rate monitor is the simplest sensor to add, and it pairs with most head units that list heart rate support.